Completed
00:00 Look at this – it's finally here
Class Central Classrooms beta
YouTube videos curated by Class Central.
Classroom Contents
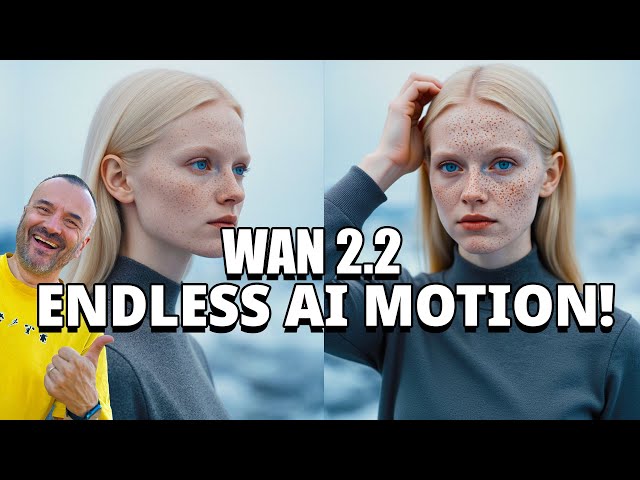
Creating Professional AI Animations with WAN 2.2 FLF2V Workflow in ComfyUI
Automatically move to the next video in the Classroom when playback concludes
- 1 00:00 Look at this – it's finally here
- 2 00:03 Create professional animations with AI
- 3 00:08 Technically unlimited length with stitching
- 4 00:20 Step-by-step guide starts here
- 5 00:30 Completely free and offline capable
- 6 00:47 Using ComfyUI as the animation interface
- 7 01:01 All models and workflows included
- 8 01:17 Link to ComfyUI install guide
- 9 01:34 Be sure to install version 0.3.48 or newer
- 10 01:46 Overview of the three workflows used
- 11 02:02 Keyframe-based animation like traditional methods
- 12 02:21 Let AI handle in-between frames
- 13 02:35 Workflows: Flux Create, Flux Context, WAN 2.2
- 14 02:58 WAN 2.2 FLF2V: start and end frame animation
- 15 03:15 Compatible with smaller computers using 5B models
- 16 03:31 Benchmark: 14B model takes 3 hours
- 17 03:48 5B model takes just 30 minutes
- 18 04:05 14B for quality, 5B for speed
- 19 04:22 Generate main image with Flux Create
- 20 04:35 Use any source image to start
- 21 04:47 Create keyframes using Flux Context
- 22 05:01 Maintain consistency between frames
- 23 05:20 Load workflows easily in ComfyUI
- 24 05:38 Handle missing models and download them
- 25 06:01 You can run it all offline
- 26 06:12 Download all required models before disconnecting
- 27 06:20 Main model and clip loaded
- 28 06:36 Save your start image
- 29 06:54 Load image into Flux Context
- 30 07:15 Use Context to change poses and elements
- 31 07:43 Keep changes subtle for smooth animation
- 32 08:20 Use natural timing for believable motion
- 33 08:50 Use storyboarding mindset for keyframes
- 34 09:20 Switch scenery if needed
- 35 09:43 Ready to generate the final animation
- 36 09:56 Load WAN 2.2 FLF2V workflow
- 37 10:16 Load start and end frames
- 38 10:31 Modify small pose details for animation
- 39 10:48 Write the animation prompts
- 40 11:02 Describe actions in your prompt
- 41 11:32 Adjust resolution, width, height
- 42 12:14 Use 2-pass samplers in WAN 2.2
- 43 12:44 Start rendering process
- 44 12:52 Find output files in your render folder
- 45 13:04 Preview your 5-second animation
- 46 13:14 Review other animation examples
- 47 13:22 Combine videos in your editor
- 48 13:29 Final thoughts and animation tips
- 49 13:43 Recap of the 3-step process
- 50 14:02 Keep 5-second intervals between keyframes
- 51 14:09 Put it all together and render unlimited animations
- 52 14:16 Thanks for watching and see you next time
